Have you ever wondered how some print-on-demand stores have such realistic looking mockups? If you have a Canva Pro subscription, it doesn’t take much time to create for professional looking print on demand mockups! In this Canva Hack, I’ll show you how to erase parts of your design to create a layered effect for more realistic looking mockups. Watch the Youtube tutorial to learn how to overlay hair on your design to create an amazing mockups or keep reading.
A good mockup shouldn’t require much editing, but it’s inevitable that you will come across the need to erase part of your design to create realistic mockups in your print on demand career. You don’t need any special editing software, photoshop, or advanced design skills to master this effect thanks to Canva’s background remover tool. You will need Canva Pro, which you can try free for 30 days and then opt for the monthly plan $18.99 CAD ($14.99 USD) or pay annually and save 35% ($12.49 CAD per month). Canva is the first subscription I recommend investing in for your print-on-demand business.
The mockup I’m using in this tutorial is available free with a Creative Fabrica subscription or available to purchase individually here. I also used this grungy college font from Creative Fabrica. Creative Fabrica is the second subscription I recommend investing in for your print-on-demand business and $4.99/month CAD is a steal for what you get with your subscription.

Two Methods
There’s two different ways you can do this, using the magic erase tool and the background remover tool. The first and quickest method is to use the magic eraser tool to erase parts of your design. However you can’t see the layer below while erasing, so its not very precise and you may have to go back and forth between the magic erase tool and your project a few times.
The second method uses the background remover tool and works in two parts. First you need to create an image of the design covering parts of the mockup. Then you place the blank mockup image below that one and use the background remover tool on the top layer, erasing parts of the design to reveal the mockup layer below. This method is better for detailed work like overlaying hair on a mockup and solves the issue from the first method, but requires multiple steps.
Getting Started:
Start by creating a new project in Canva (I like to use 2000 x 2000 pixels). Upload your MockUp image and place it on your canvas. Upload your Design and place it on your canvas ontop of the MockUp image.
Move and resize the design until you are satisfied with the placement. Turn down the Design transparency to 80-90%
Method 1: Magic Eraser Tool
Select the Design layer and click on “Edit Photo” to view different editing features. Select the “Magic Eraser” tool and erase the parts of the Design that are currently covering the MockUp model’s hair.
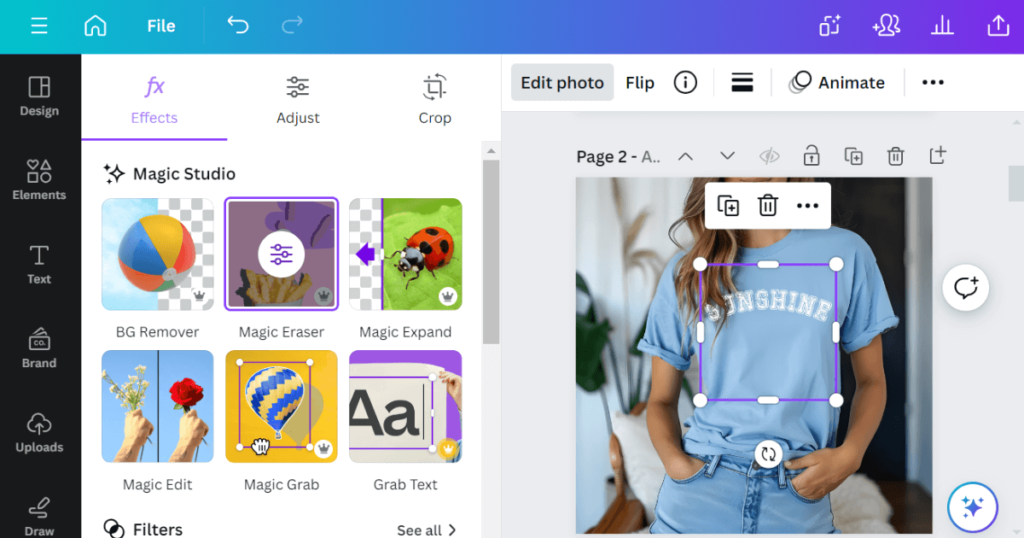
You may need to go back and forth between the Magic Eraser tool and your Project until the Design has been sufficiently erased to reveal the MockUp model’s hair. You can always click the “Reset Tools” button to start over with the Magic Eraser.
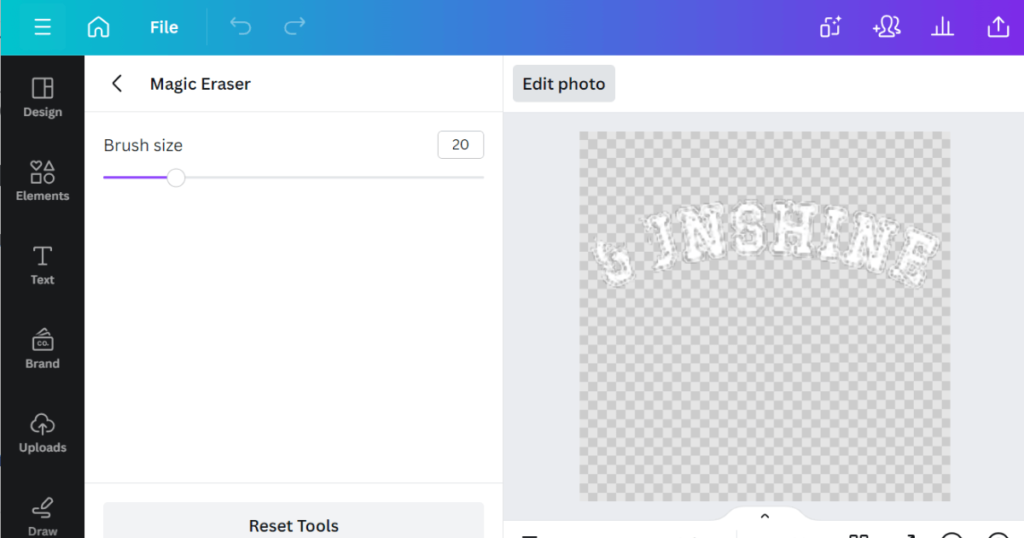
Method 2: Multi-Layer Background Remover Tool
1. Download your Design
After placing your Design and turning down the transparency, download your project and save it to your computer as “Edit 1” (the design is still on top of the hair at this point)
2. Reset your Canva Template
Delete the Design layer from your project leaving the MockUp layer.
3. Upload your Mockup
Upload the file you downloaded, “Edit 1” and place it on top of the mockup layer. Expand “Edit 1” until it is the same size as the blank mockup below and fills the entire project space.
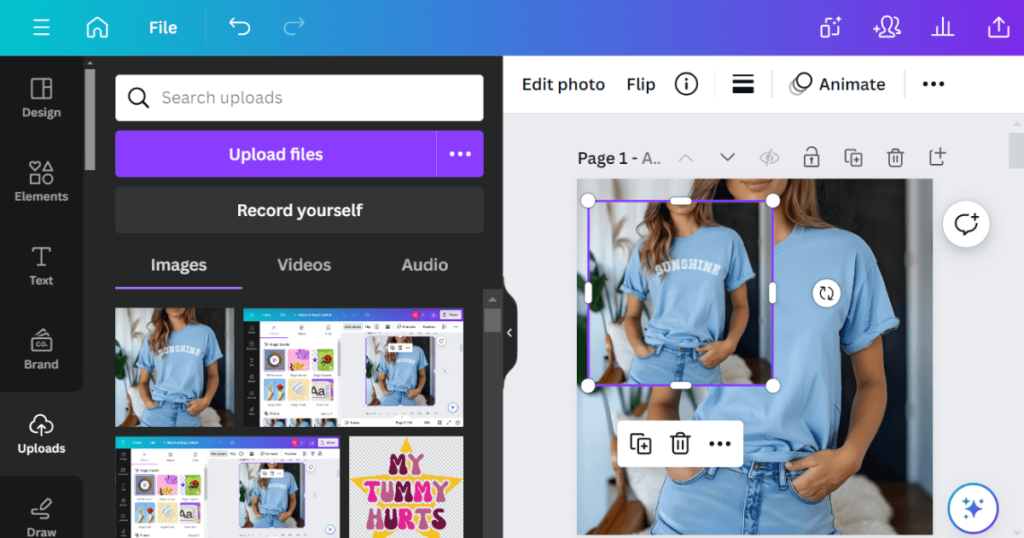
4. Use the Background Remover Tool
With the top layer “Edit 1” selected, click on “Edit Photo” to view different editing features. Select the “Background Remover” tool and wait for it to load; it will have removed some of the background automatically.
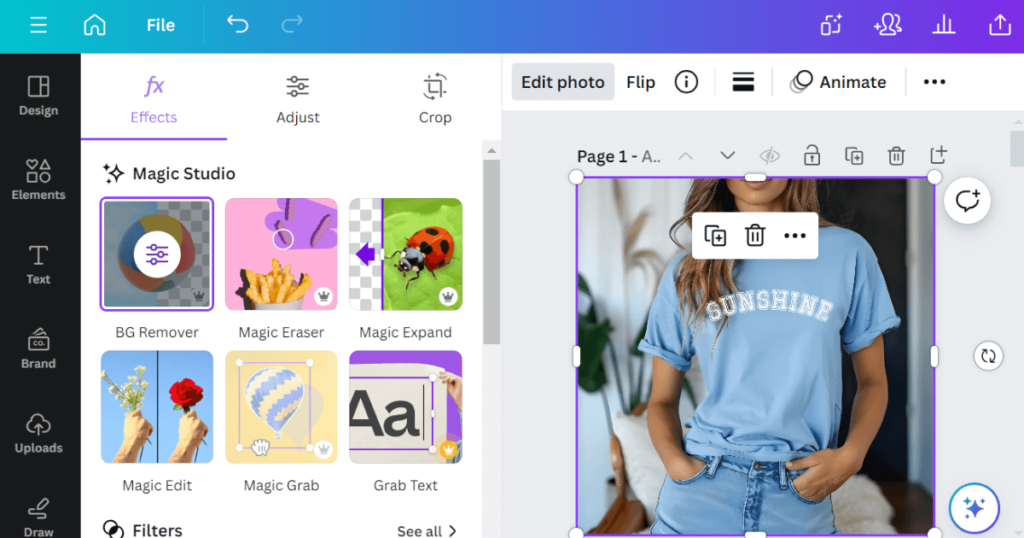
5. Erase and Reveal the Image Below
Click on the “configure” button that now appears over the Background Remover tool (looks like a bunch of sliding scales). Set the brush size to an appropriate size and use the “Erase” feature to erase parts of your Design that are covering the MockUp model’s hair. Sometimes it can be easier to do more detailed work with the “Restore” feature.
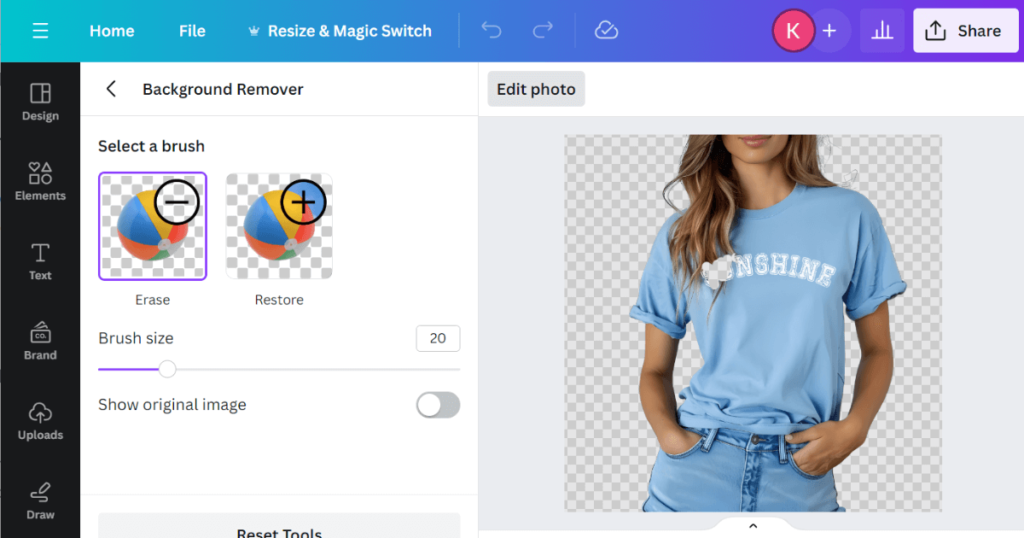
When you erase parts of your Design in “Edit 1” using the Background Remover tool, you reveal the blank MockUp layer below creating a realistic layered effect without design software or advanced editing photo editing skills!
Can you tell Which Option was Used on the Final Images Below?
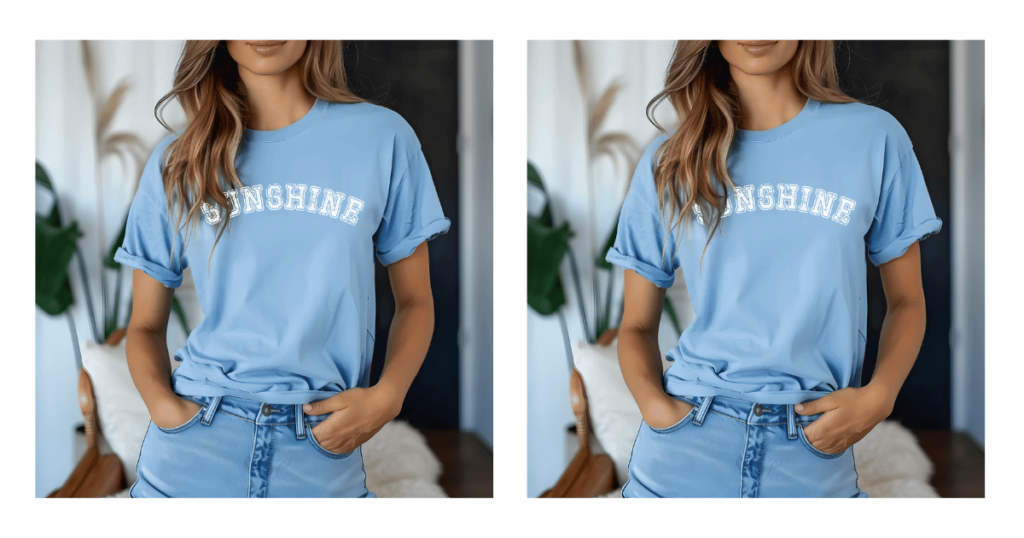
Option 1 (left) Option 2 (right)

